Creating mouthwatering food photography requires more than just a good camera. Whether you’re a San Francisco cookbook photographer, a San Jose food photographer, or capturing culinary stories along the California coast, having the right tools can elevate your work from good to exceptional. In this blog, we break down the Food Photography Essentials—must-have gear, props, lighting setups, and software—that will help you achieve stunning food imagery.
1. Camera & Lenses: The Foundation of Food Photography
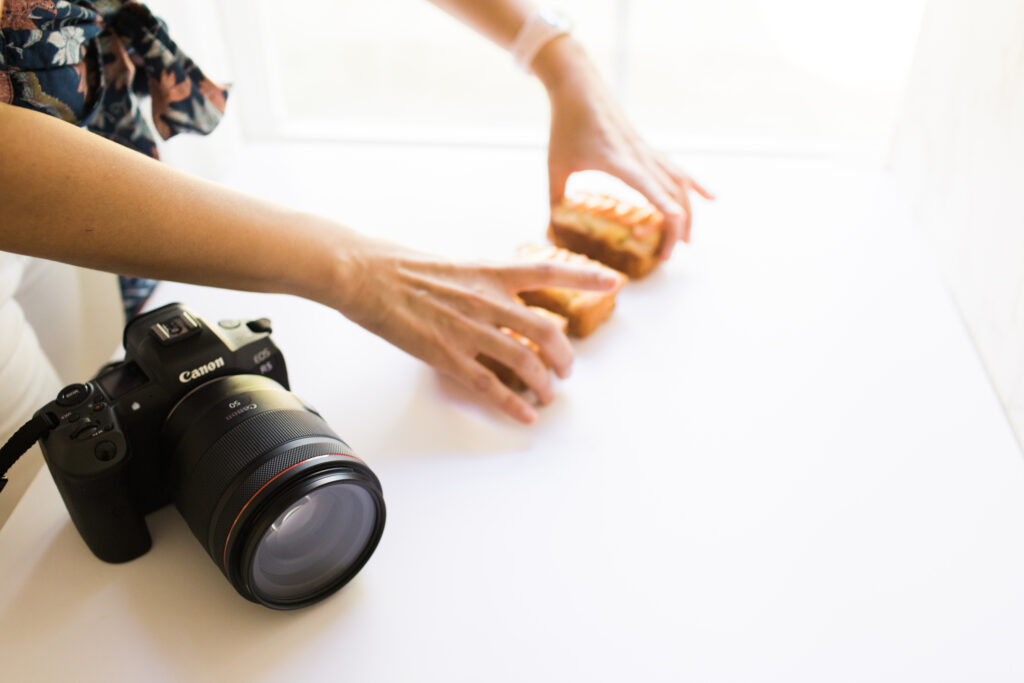
A high-quality camera is essential for capturing rich textures and vibrant colors. For instance, many professional food photographers use full-frame cameras like the Canon EOS R5 or Sony A7R IV. However, just as important as the camera body is the choice of lenses- core components of your Food Photography Essentials toolkit.
Best Lenses for Food Photography:
- 50mm f/1.2 or f/1.8 – Great for capturing plated dishes with a natural perspective.
- 100mm f/2.8 Macro – Perfect for detailed shots of ingredients, textures, and close-ups.
- 24-70mm f/2.8 – A versatile option for overhead shots and various compositions.
2. Lighting: Natural vs. Artificial
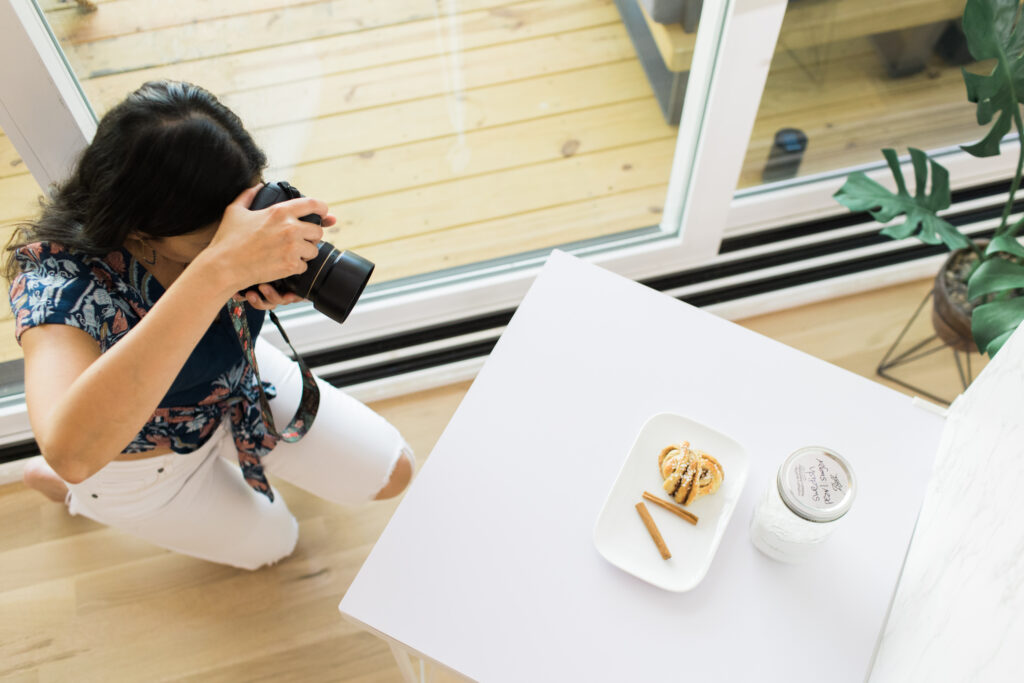
Lighting is everything in commercial food photography. While natural light creates a soft and organic feel, on the other hand, artificial lighting gives complete control over the scene.
Natural Light Tips:
- Shoot near a large window with diffused light.
- Use white foam boards or reflectors to bounce light and reduce shadows.
Artificial Lighting Setups:
- Continuous LED lights like the Godox SL-60W provide consistent brightness.
- Strobe lights such as the Profoto B10 offer crisp, dynamic images.
- Softboxes & diffusers ensure light is evenly spread across the subject.
As a San Jose beverage photographer, controlling reflections in glassware is key. A polarizing filter and side lighting help minimize glare and enhance clarity.
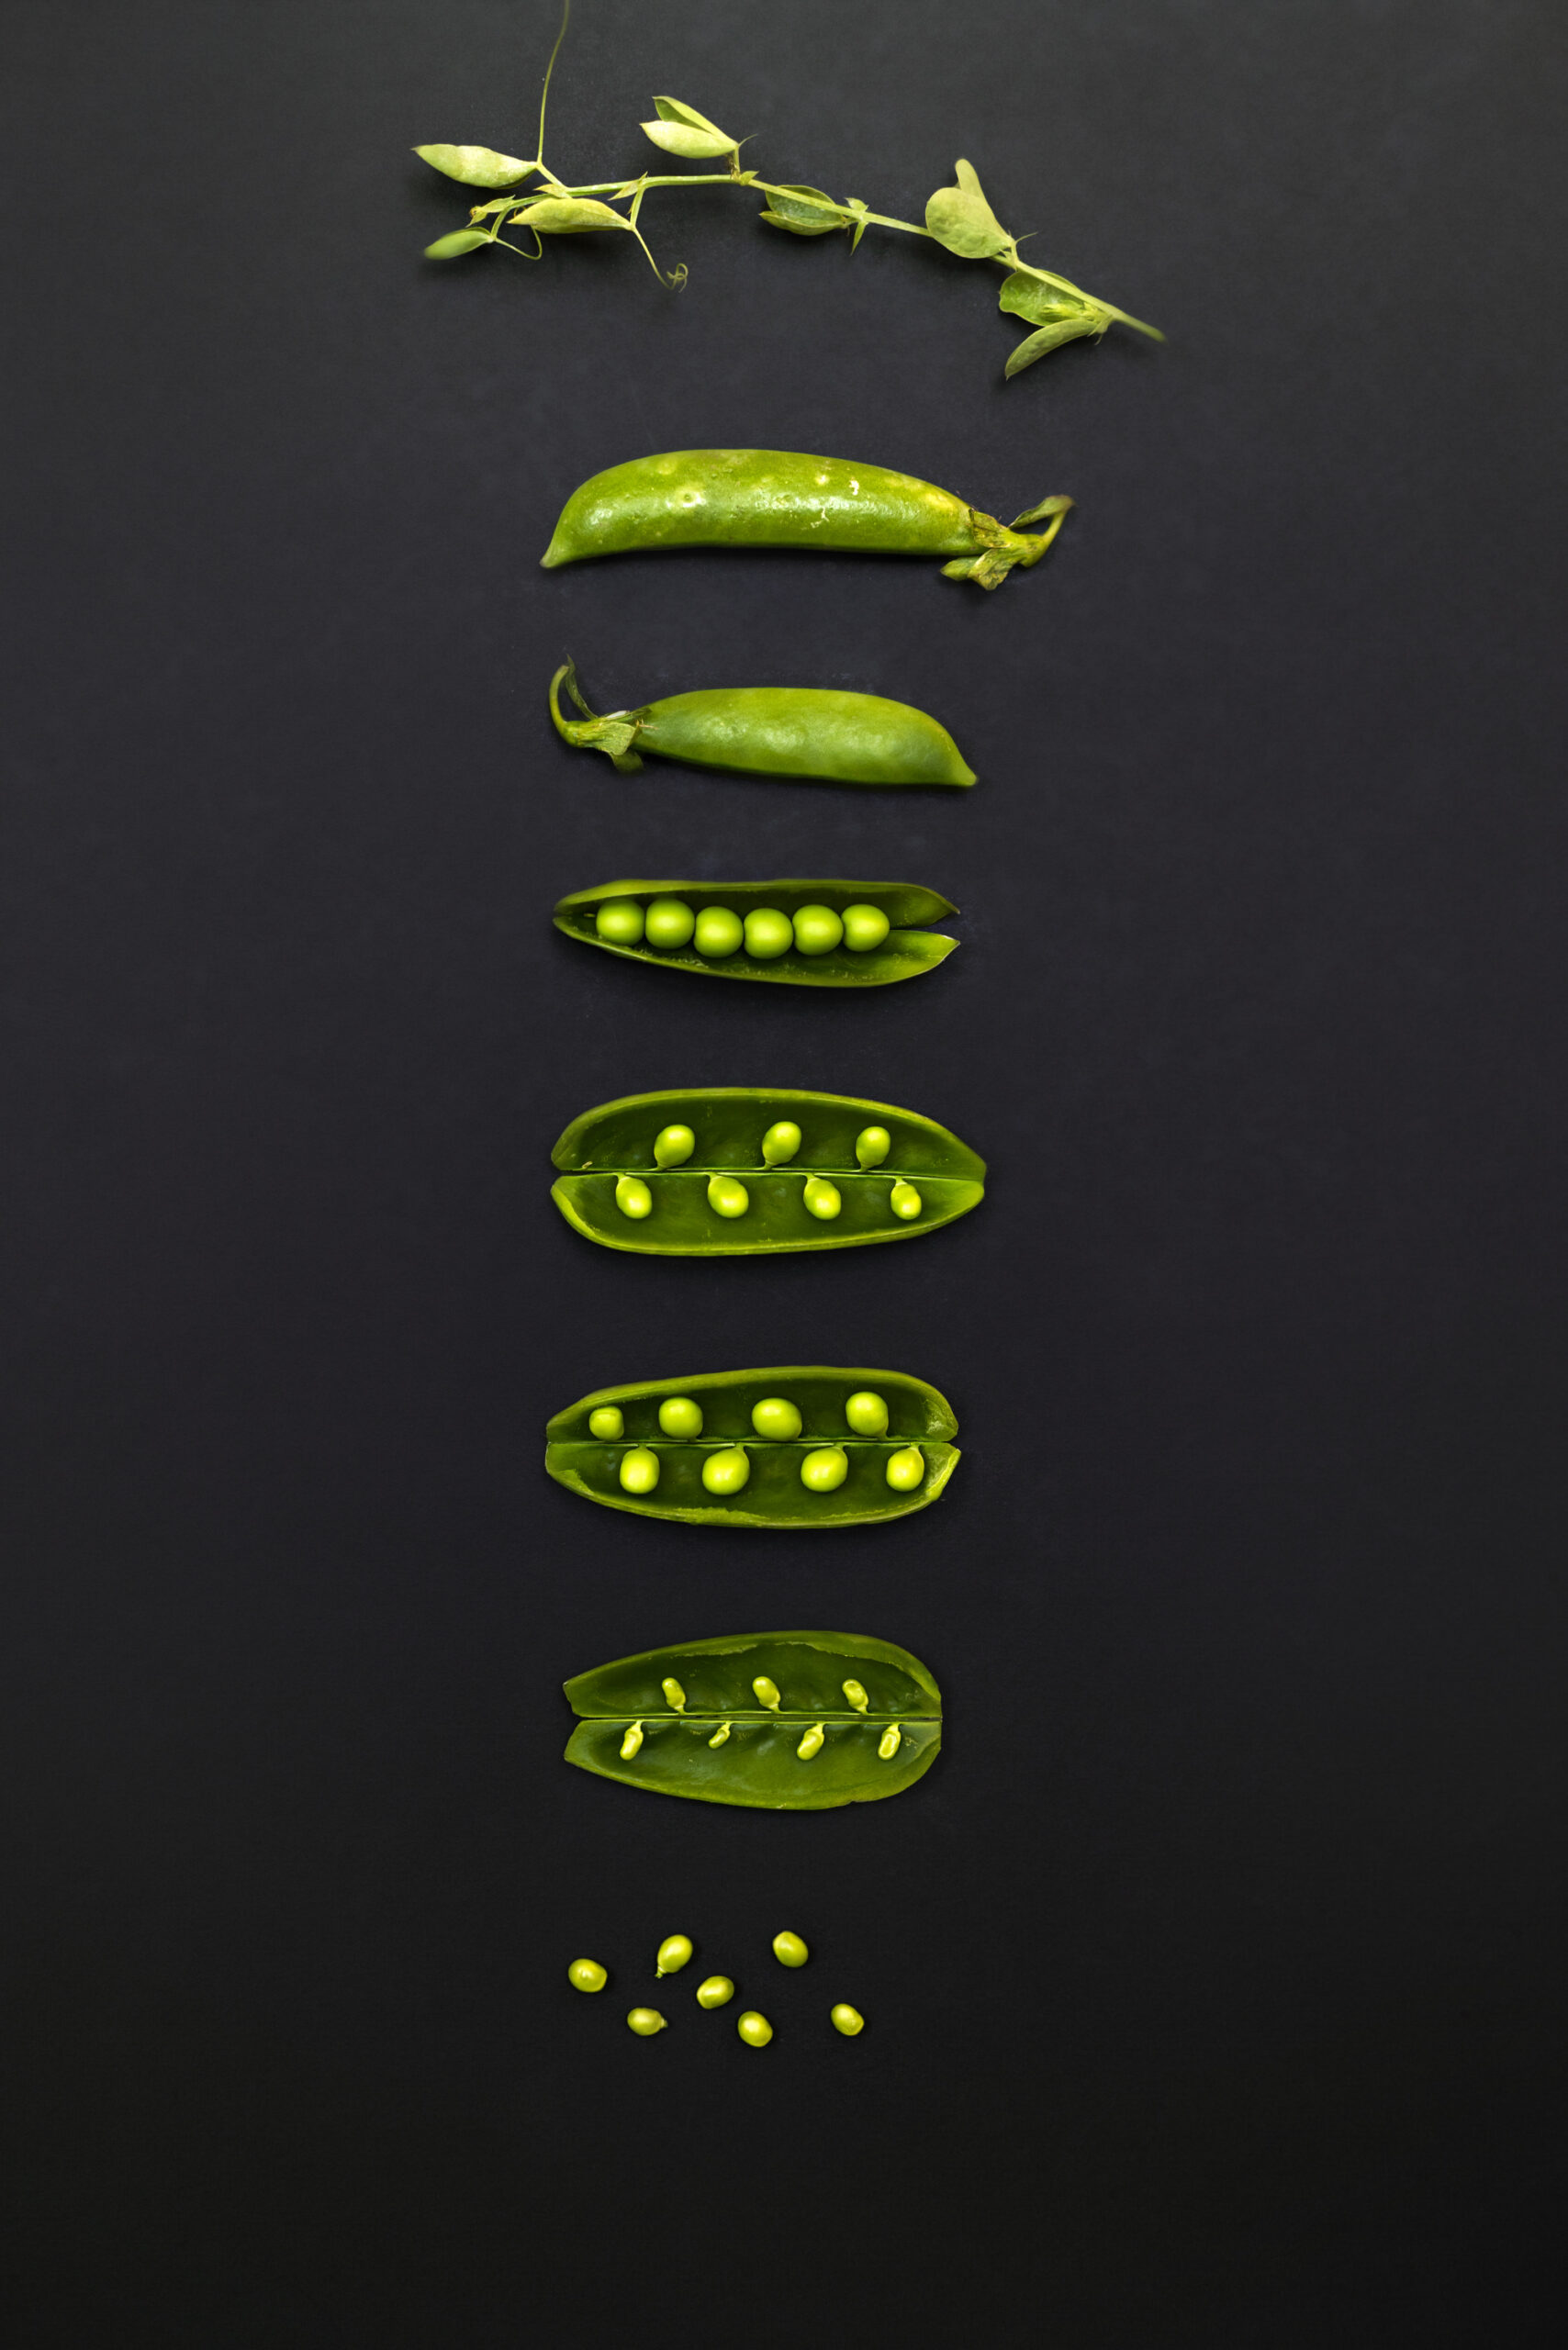
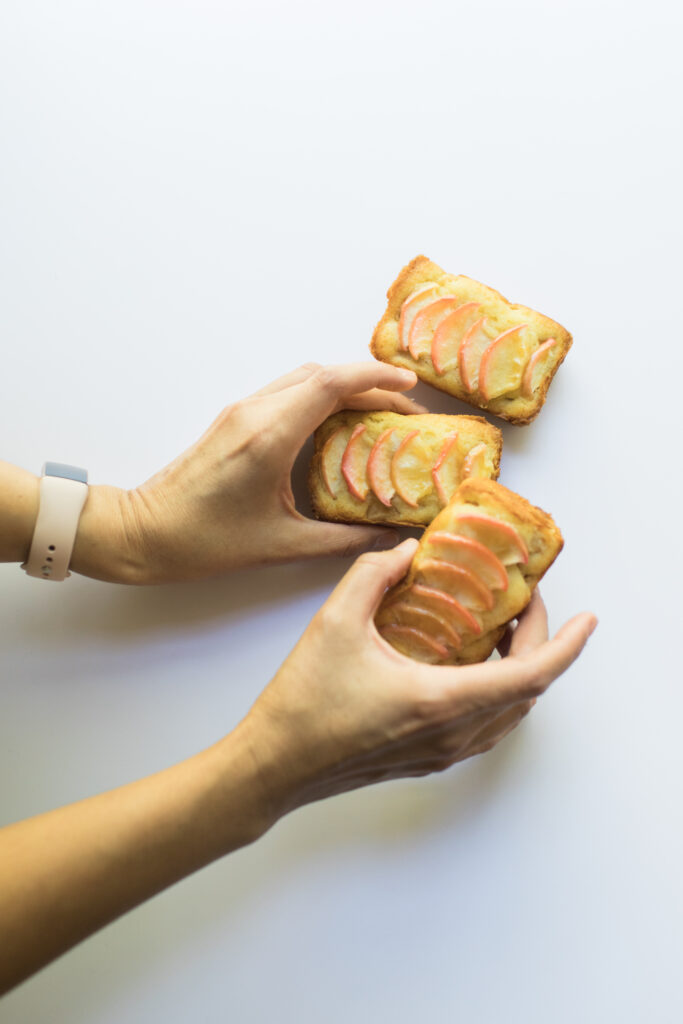
3. Essential Props & Styling Elements
Props can transform an ordinary dish into a visually compelling image. Whether you’re a Carmel food photographer or an SF Bay cookbook photographer, curating the right props is essential for storytelling.
Must-Have Props:
- Neutral & textured backdrops – Wooden boards, marble slabs, and linen cloths create depth.
- Handmade ceramics & cutlery – Adds a unique, artisanal touch.
- Fresh herbs & garnishes – Elevate food presentation and add pops of color.
4. Composition & Styling Tools
A well-composed image guides the viewer’s eye and enhances the subject.
Key Composition Techniques:
- Rule of Thirds: Place the main elements along grid lines for balance.
- Leading Lines: Use cutlery, napkins, or hands to draw attention to the food.
- Negative Space: Keeps the focus on the dish without visual clutter.
Using styling tools like tweezers, brushes, and glycerin sprays can help achieve precision and freshness in every shot.
5. Post-Processing: Editing Software & Workflow
Even the best cookbook photographer in San Jose or San Francisco culinary photographer relies on editing to refine images.
Best Software for Food Photography:
- Adobe Lightroom – Ideal for color correction and enhancing textures.
- Adobe Photoshop – Great for detailed retouching and composite editing.
- Capture One – Popular among commercial photographers for tethered shooting and advanced color grading.
A solid workflow, from tethered shooting to final retouching, ensures consistency and high-quality results for clients.
Conclusion: Elevating Your Food Photography
Investing in the right gear, mastering lighting, and refining post-processing techniques are key to success in commercial food photography. Whether you’re a Cookbook Photographer in San Francisco, a San Jose food photographer, or working in the SF Bay culinary photography scene, having the right tools will set your work apart.
By fine-tuning your equipment, styling, and editing process, you can create visually stunning food photography that captivates audiences and clients alike.

Share to
BOOK NOW